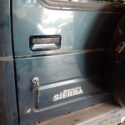
SUZUKI ジムニーJB32W復活への道 その⑤
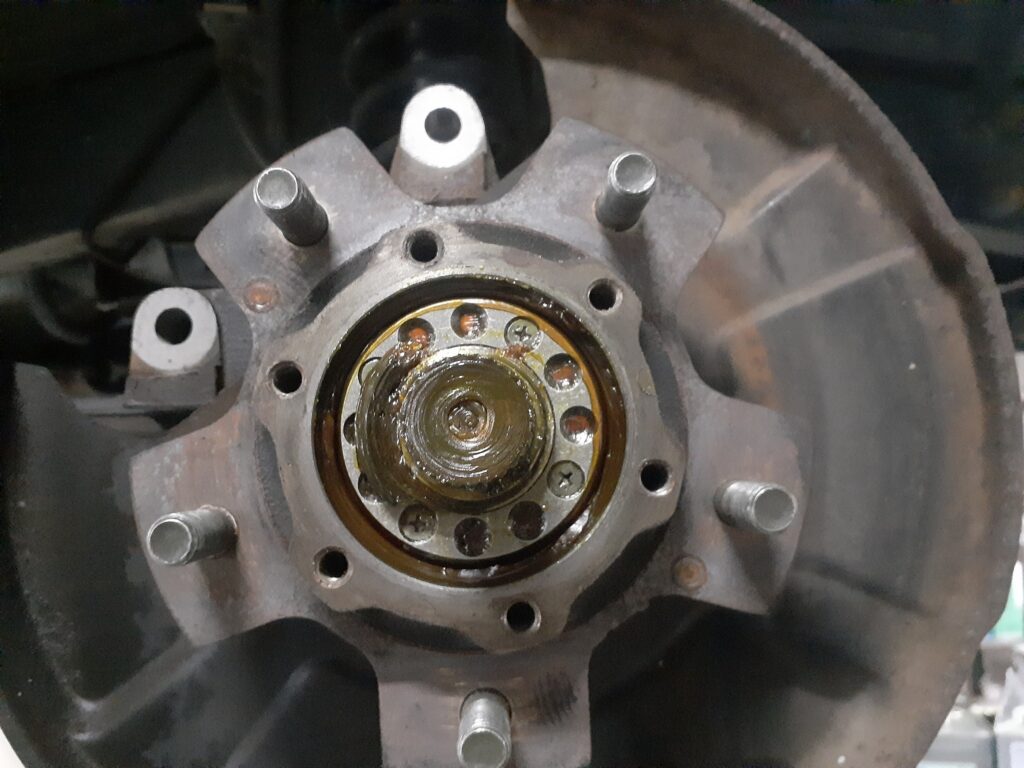
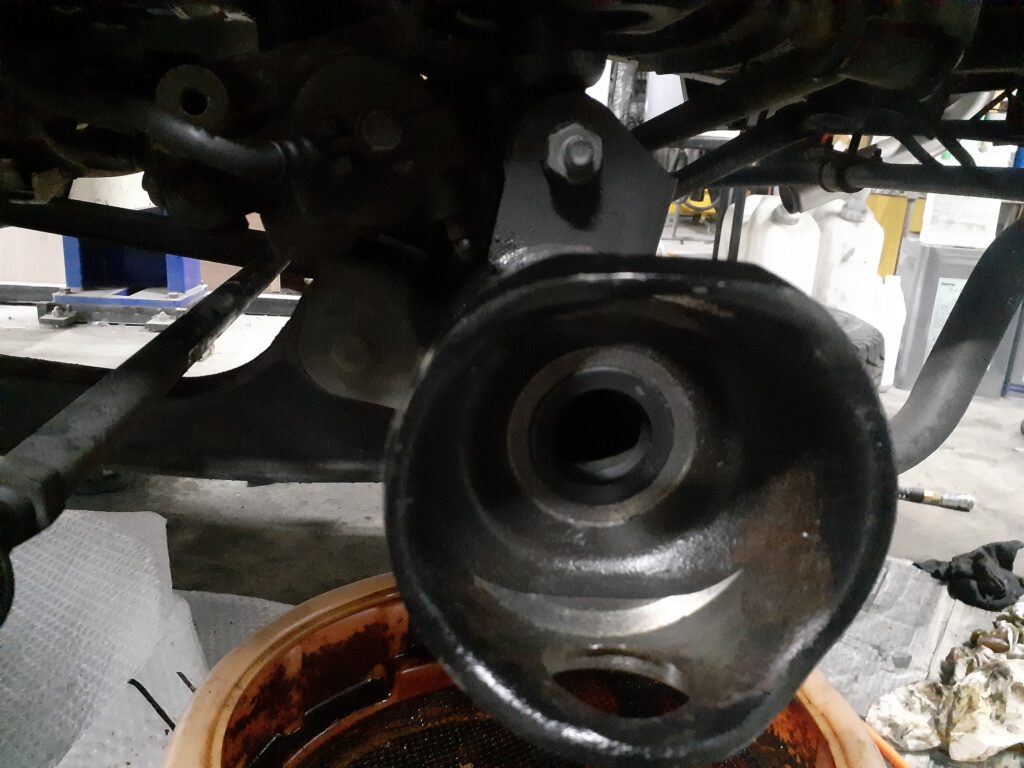
ステアリングナックル及びホイールスピンドルを外してダメな部分は交換しました。
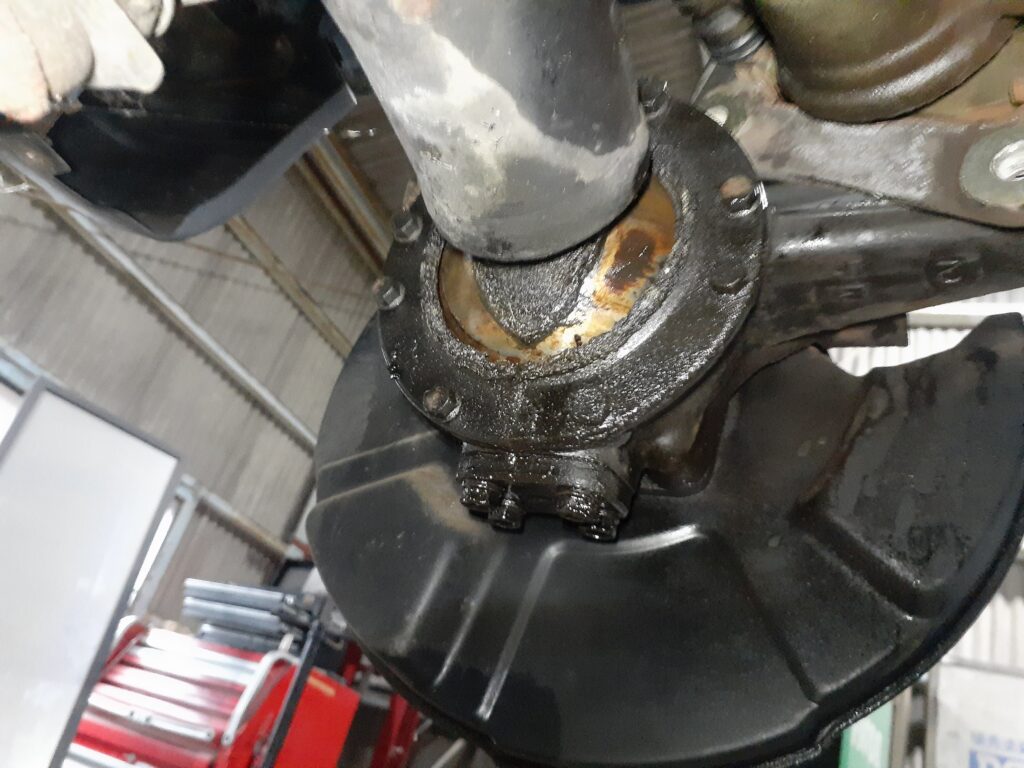
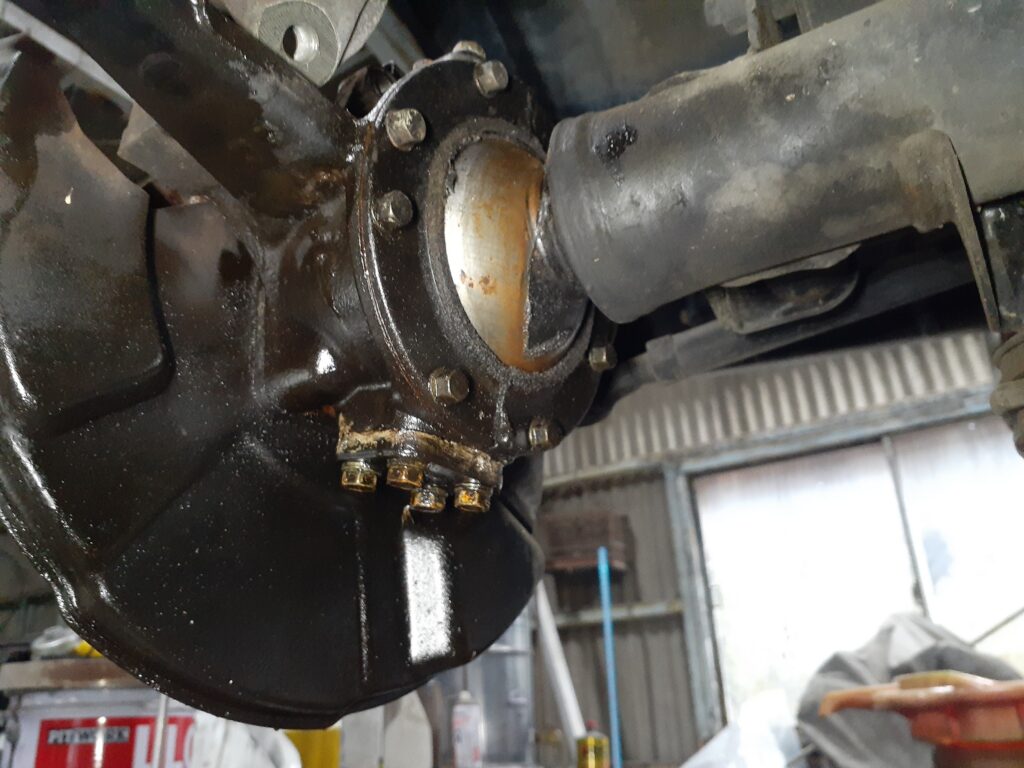
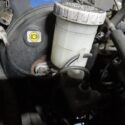
左右共にオイルが漏れた感じになってました。
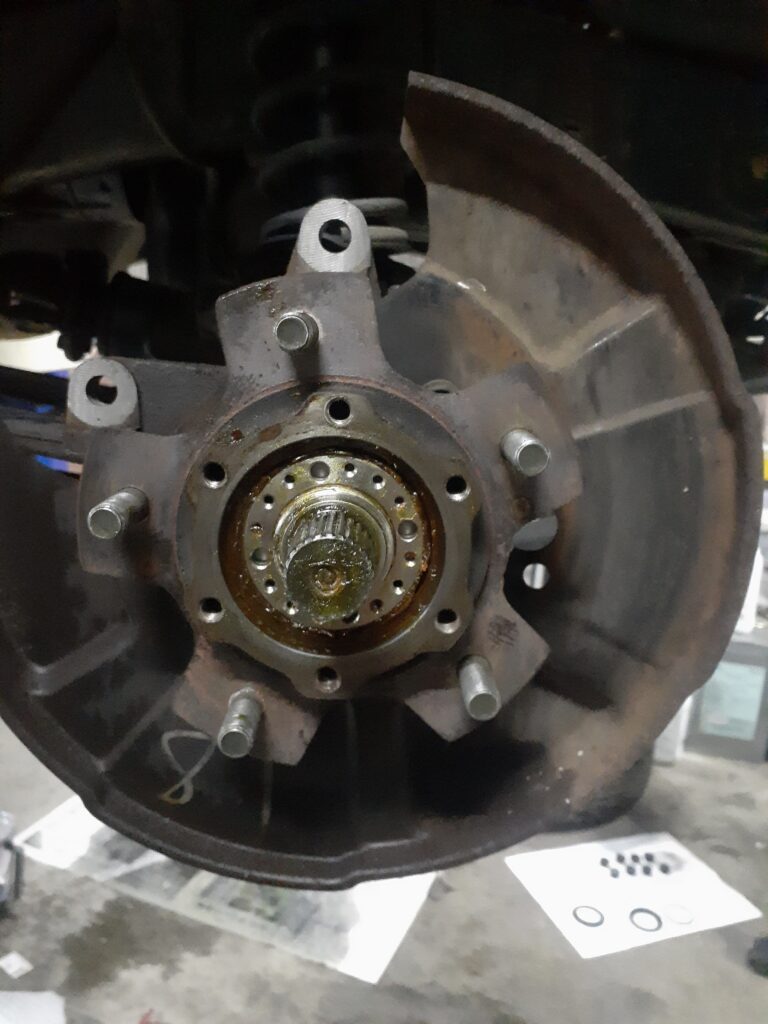
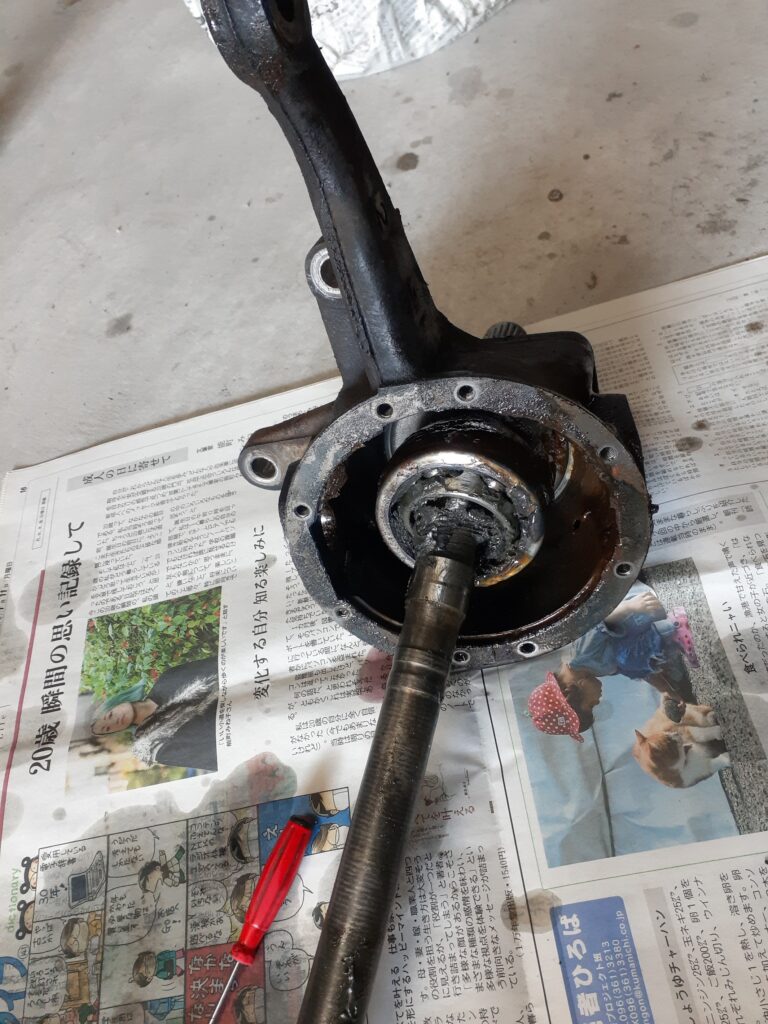
分解していきます。
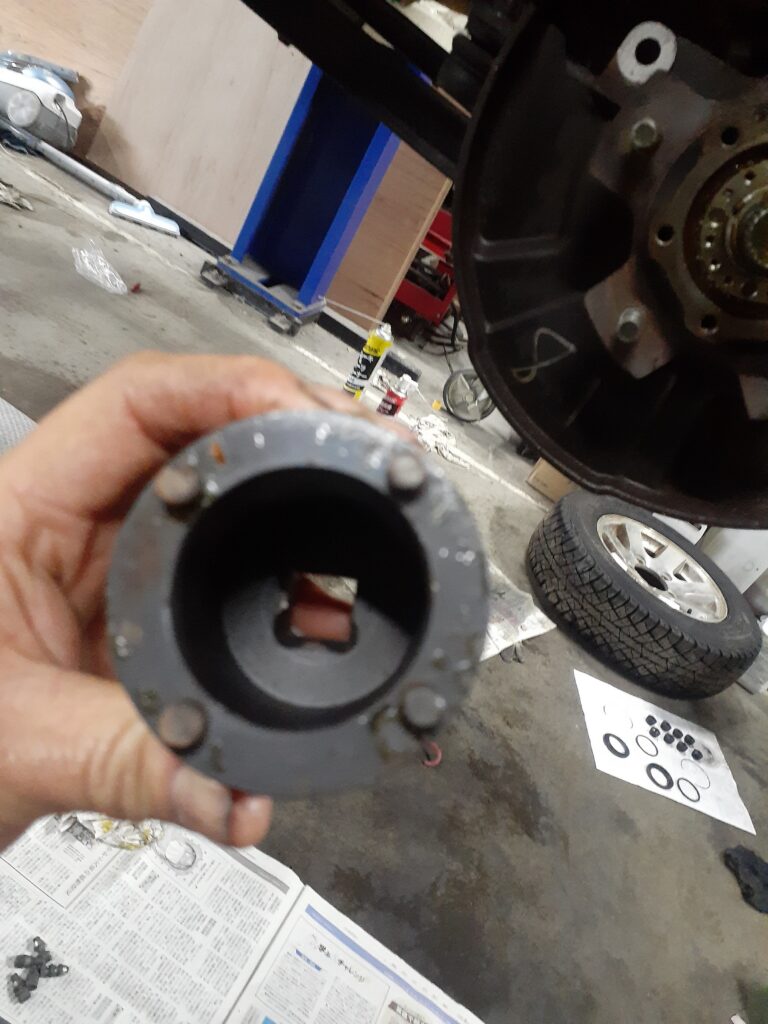
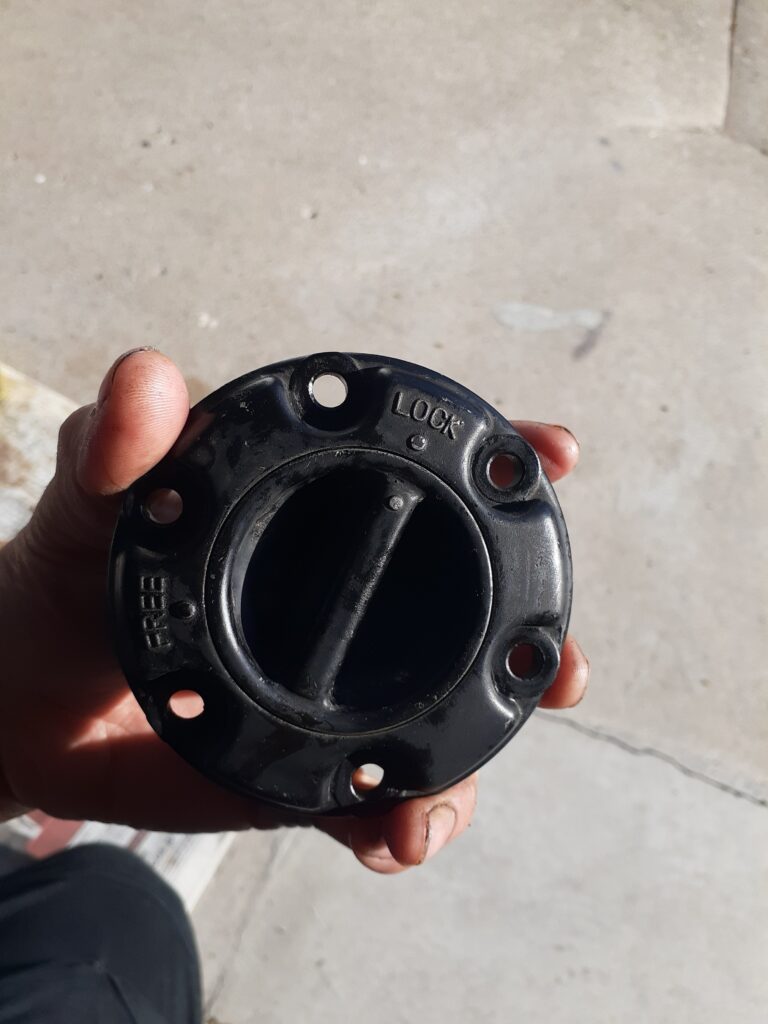
取り外したマニュアルロッキングハブ。

なんか錆びて固着してて、ジムニーに特に詳しいわけではありませんので詳しい構造とかこの時点ではわかっておりませんでしたが、明らかに機能していない感じ(-_-;)
とりあえず後回しで分解して状態確認。
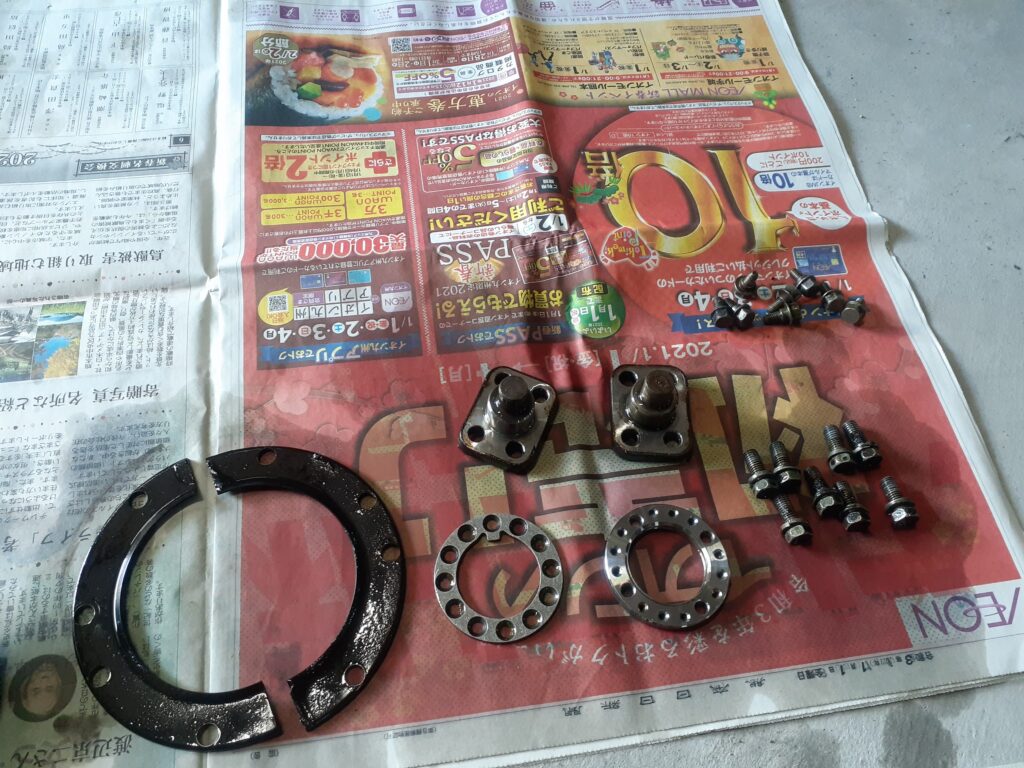
ビスを四つ取り外し、
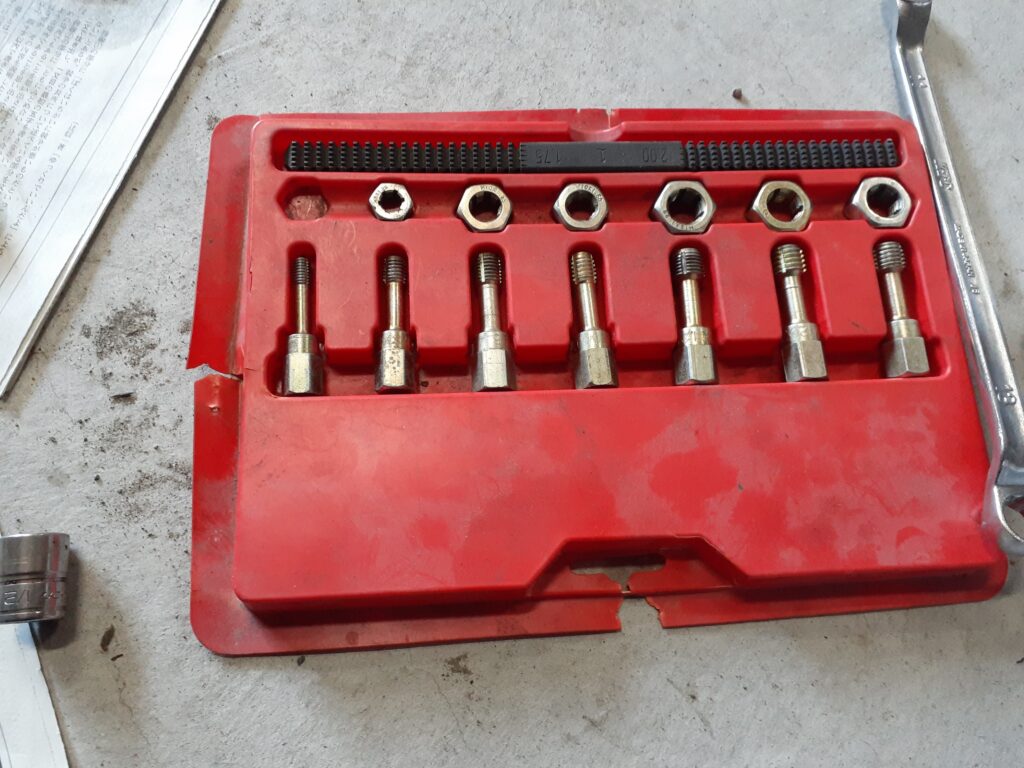
このリング(・・?を特殊工具で緩めます。

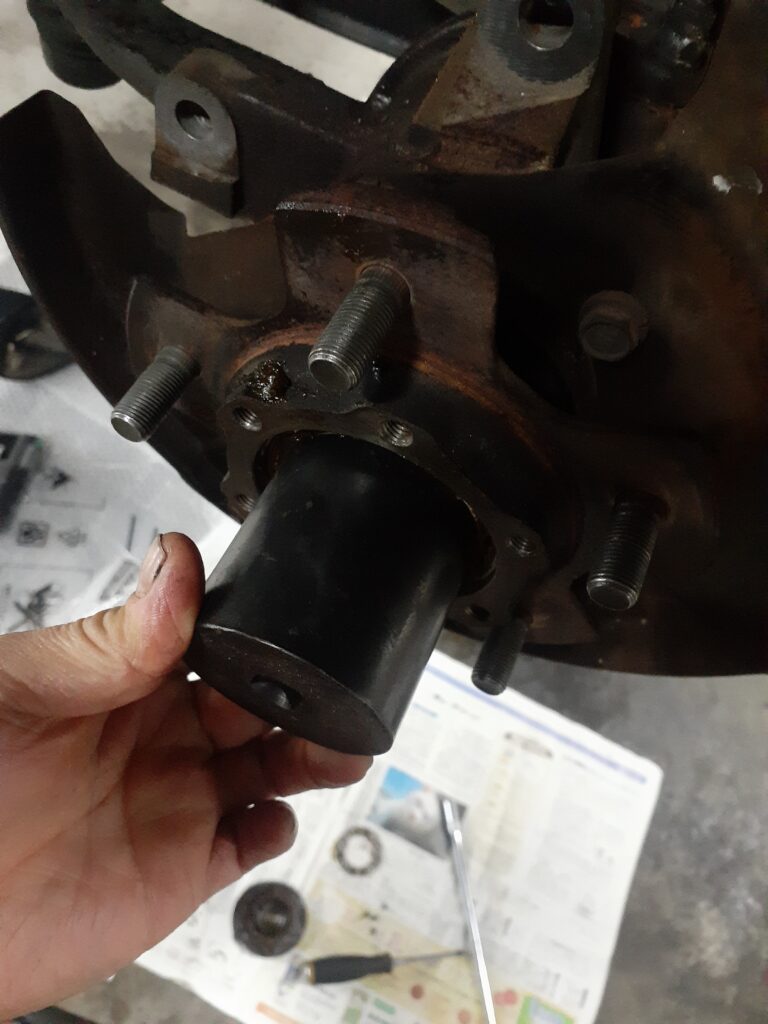

手がかなり汚れるので、画像飛んでますが分解しました。
キングピンベアリング要交換で新品部品交換です。


さらに分解してグリスを取り除き洗浄後、状態確認。
ボルト類は綺麗に洗浄して一本一本タップとダイスを使って綺麗にしていきます。

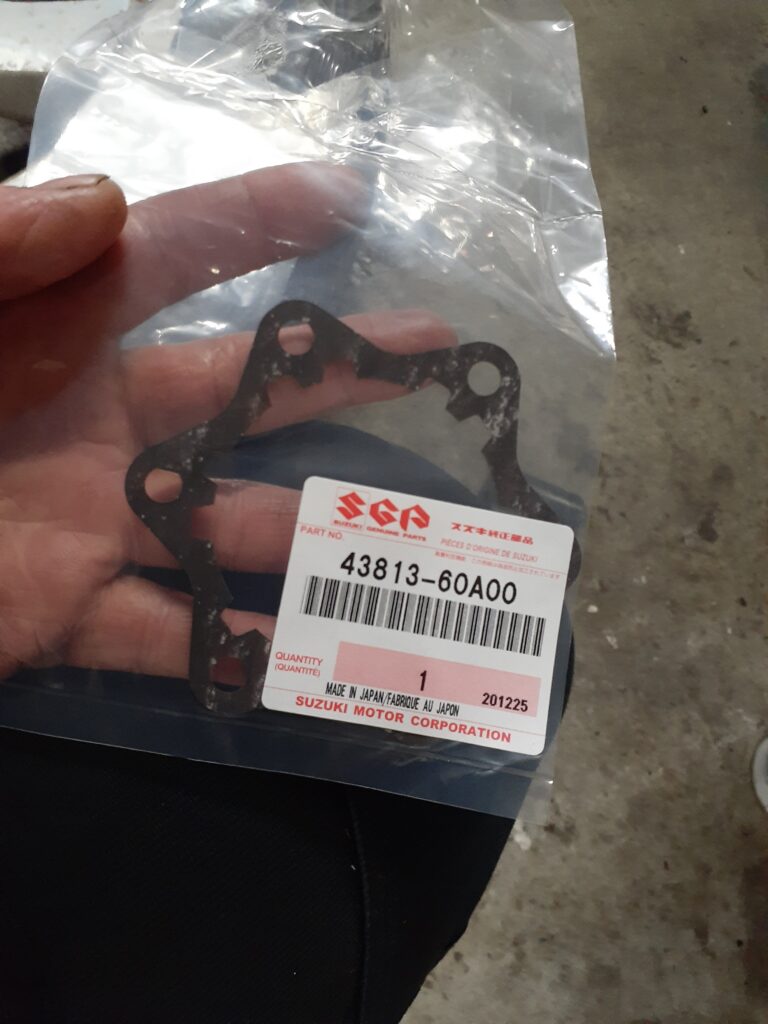
新品部品を使って組み付けていきました。
オイルシールも交換。

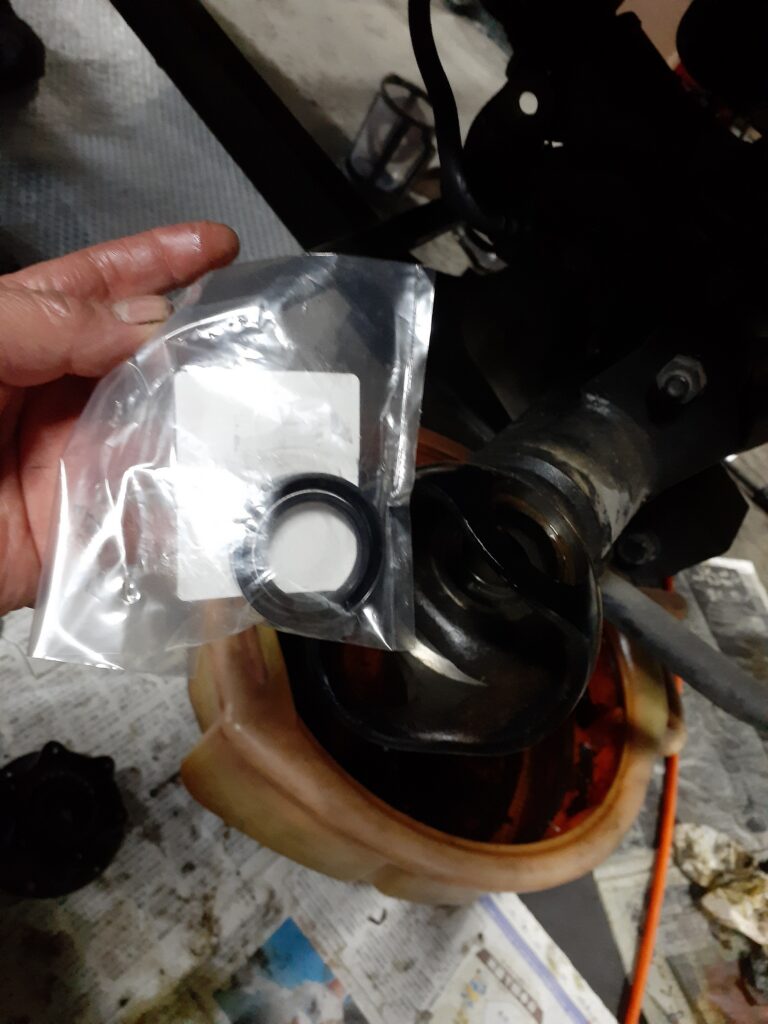
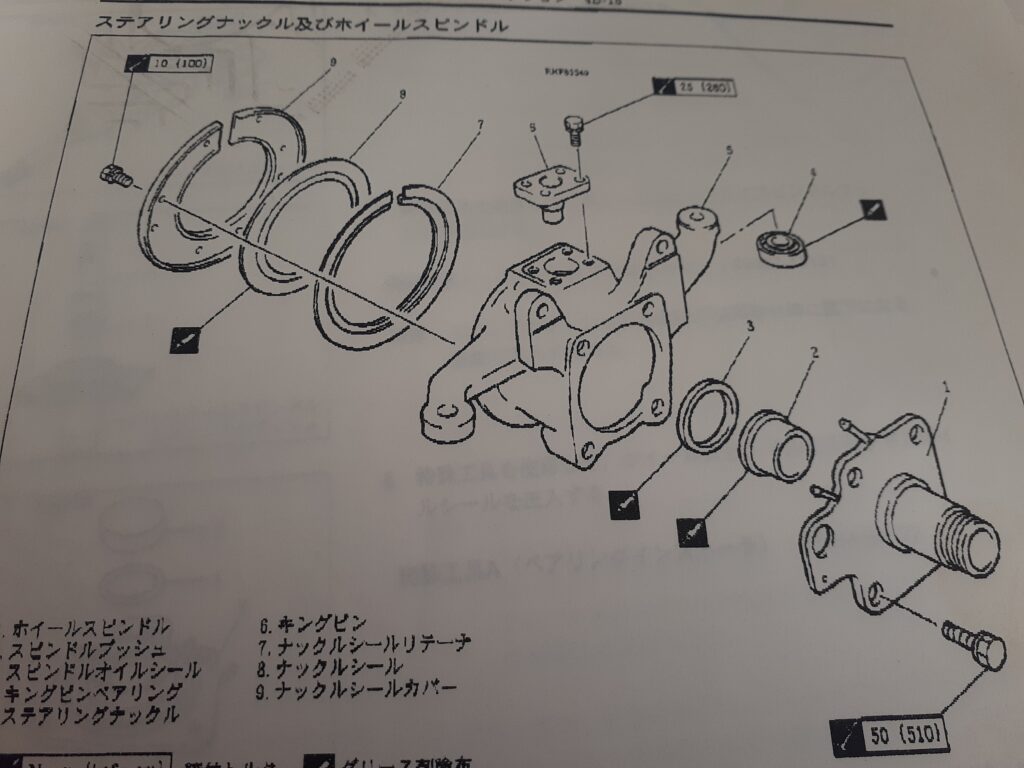
ナックルシール等も新品交換。

サビサビだったディスクローターも、、、
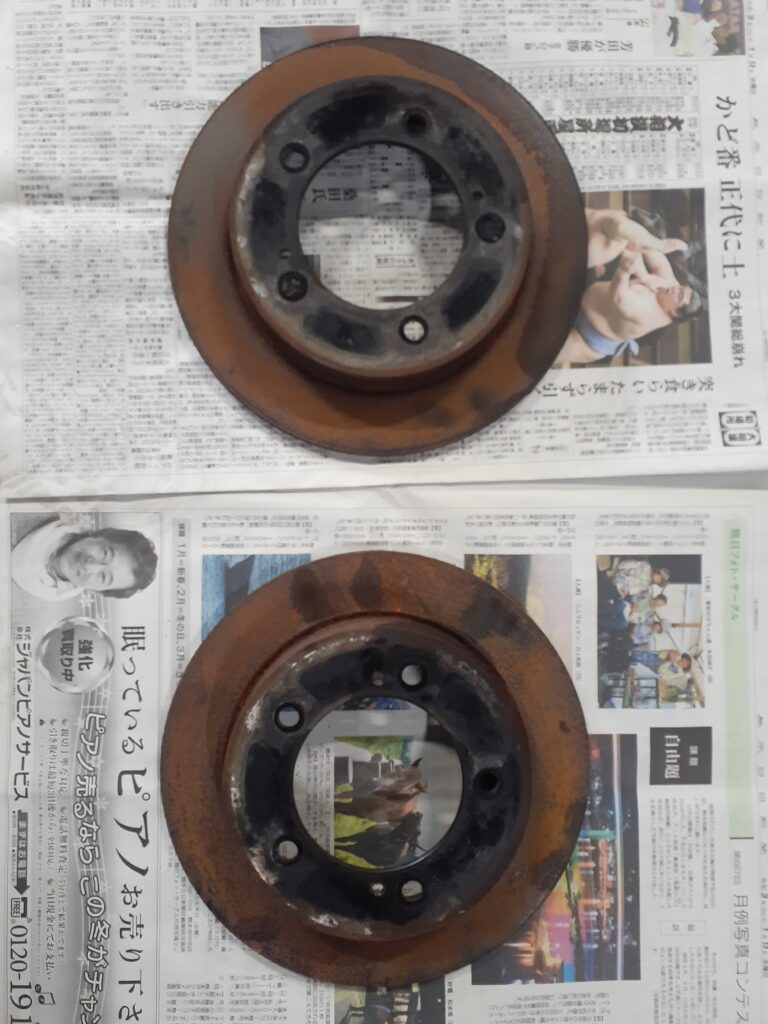
外注でローター研磨していただき、、、
ピッカピカ(^^♪

グリスも新しいグリス詰めなおしてマニュアルみながらくみつけ。。。
そしてきになっていた明らかにおかしいマニュアルロッキングハブをよーく観察してどう作動するのか形状確認。
うーん、フリーとロックの切り替えで伸びる構造だよねー、、、
あれ(・・?
なんかスプリングが二つついてるなーふむふむ。。。
わかったー!
じゃーん!
フリー!
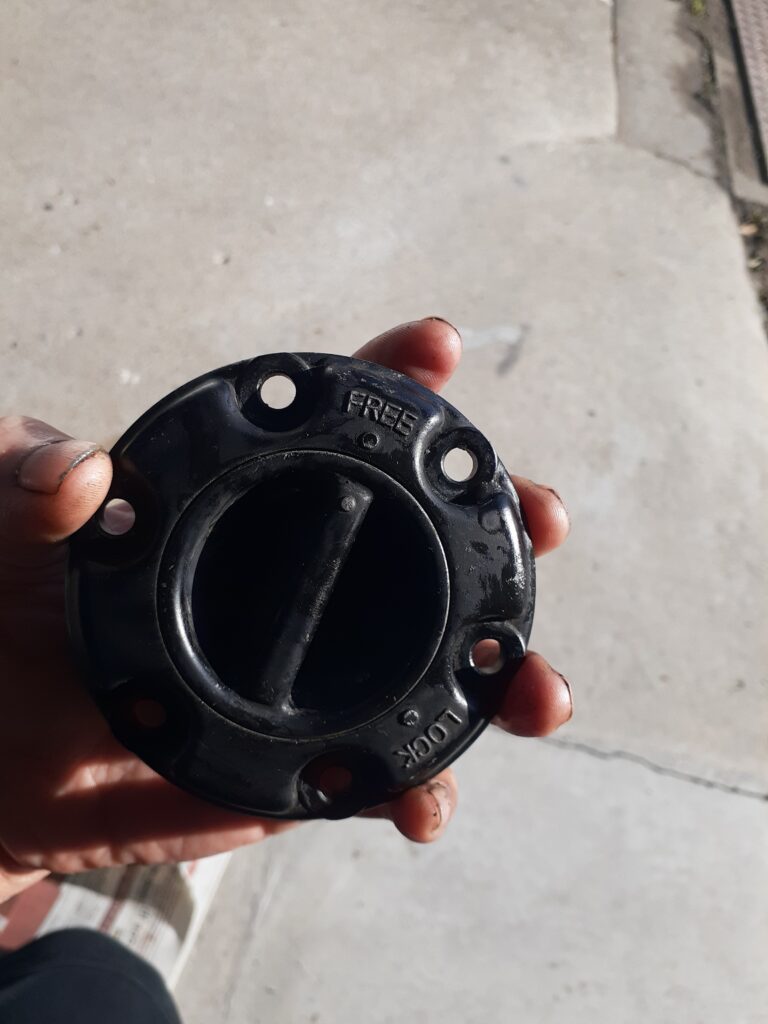

ロック!

組み付けてさらに確認。
反対側も、同じように。
左右共に完成。

おー(*´▽`*)ローターも美しい(^^♪


いや~勉強になりました(^^;
次はブレーキ周りに続く~